Forms are a valuable tool for gathering data such as first names, email addresses, phone numbers, and addresses. We will guide you through the process of building forms to capture important information from your website visitors.
Let’s dive into the steps of building a form within our platform.
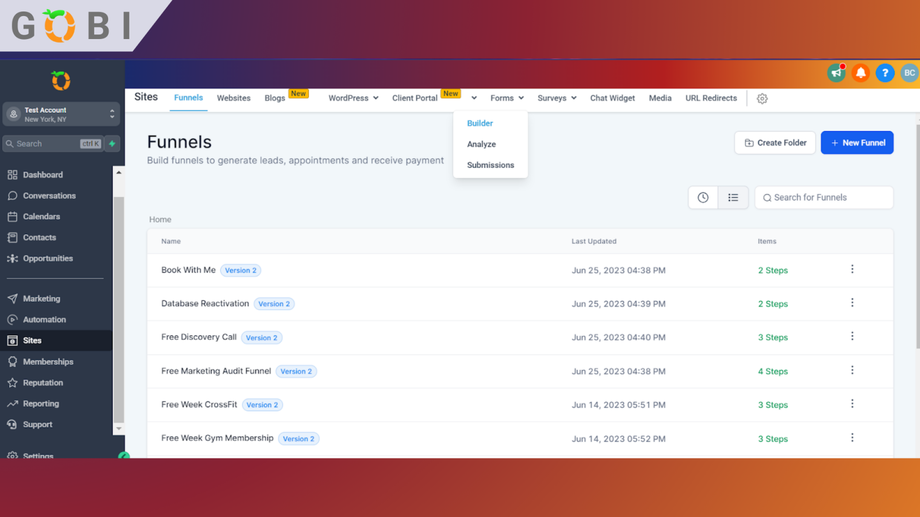
To begin, navigate to the site section of the platform and select “Forms” and then “Builder.”
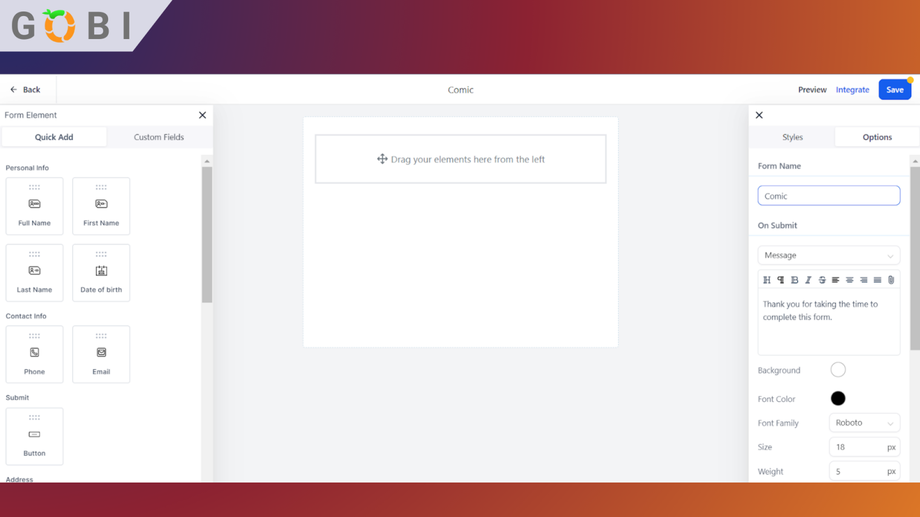
This will bring up the form builder interface where you can create a new form. It’s essential to give your form a descriptive name that you can easily remember, especially when working with multiple forms in the future. For example, if you’re offering a free comic, you can name the form “Free Comic” or any other relevant title.
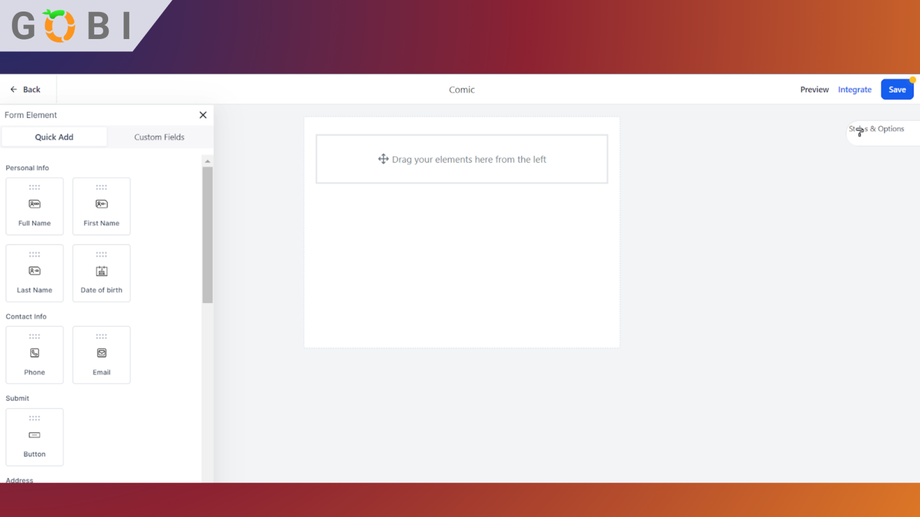
Now, let’s focus on adding the desired contact information fields to your form. On the left-hand panel, you’ll find a range of elements that can be added to your form.
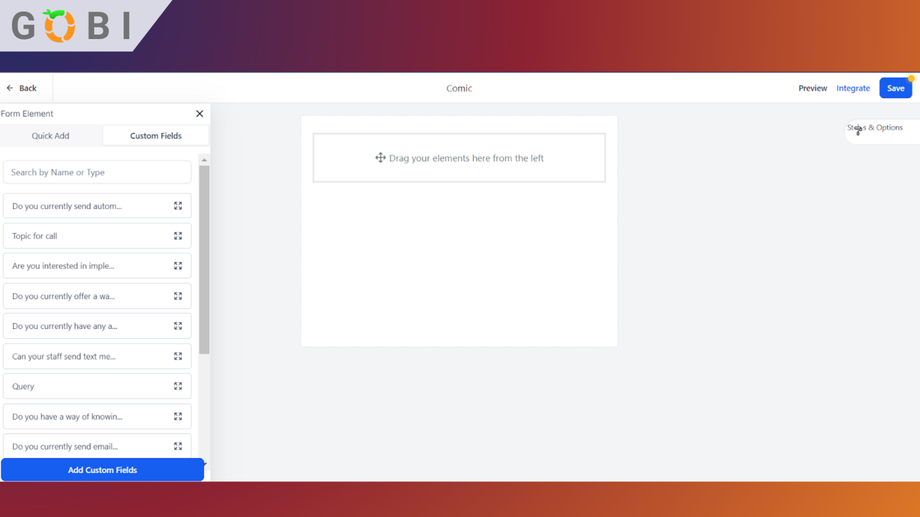
Start by dragging and dropping the elements you want, such as “First Name,” “Last Name,” “Phone,” and “Email.” Additionally, you can choose from various other options like address, city, state, country, postal code, website, source, and even date of birth. If you need to gather information that isn’t listed, you can create custom fields as well.
To create a custom field, click on the “Custom Fields” button on the right-hand panel. This will open the custom field options, allowing you to add a field that suits your specific needs. For example, if you want to know your visitors’ biggest challenge, you can create a custom field titled “What is your biggest challenge?” This information will not only be added to your form but also stored within the CRM, as discussed in our previous CRM videos.
Once you have added all the necessary fields to your form, it’s time to include a submit button. Ensure you are in the “Standard” mode and scroll to the bottom of the elements list to find the button option. Initially, the button may appear plain, displaying “Button” as the text. You can easily customize it by selecting the button and making changes. Alter the text to something more fitting, like “Submit,” and choose the alignment, width, background color, text color, borders, corner radius, and padding to match your website’s design. Play around with these settings to create an appealing form layout.
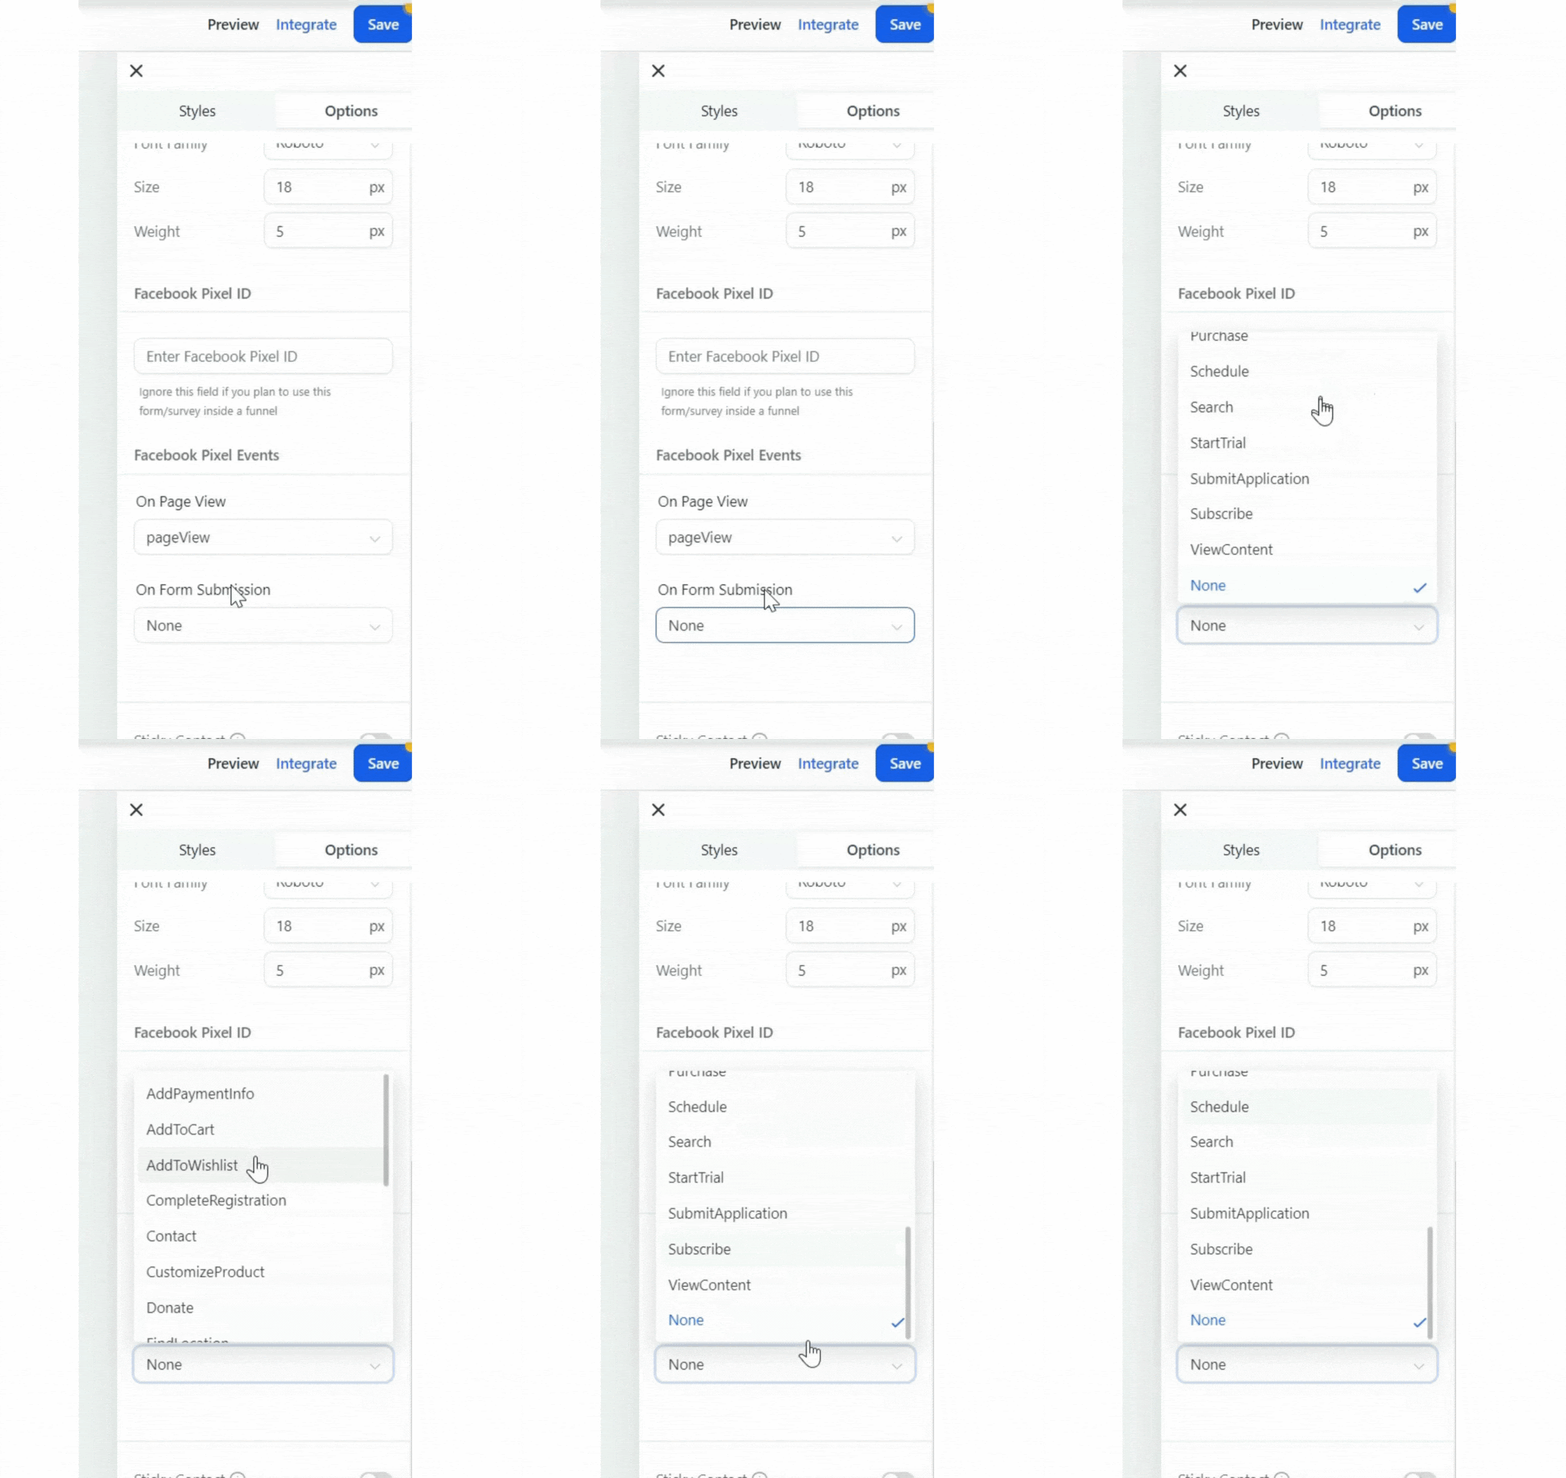
Now that you have set up the form and customized the submit button, it’s essential to determine what happens once the form is filled out. Click on “Options” and then “On Submit” to explore your choices. You can either redirect the visitor to a specific web page, such as a thank you page, or display a custom message directly on the form itself. For example, if you select the message option, you can display a simple “Thank you” message after the form submission. Once you have made your selection, save the form.
Now that your form is saved, you can easily use it on your website. Return to the builder and edit the desired page. To add the form, click on “Add” and select “Form.” A form picker will appear, allowing you to choose the appropriate form to be added to the page. Remember, using descriptive titles for your forms will make it easier to select the correct one from the list.
By following these steps, you can create effective forms to capture visitor information seamlessly. Forms are an invaluable tool for engaging with your audience and gathering the data you need to fuel your business growth. Remember to save your form, and now it’s ready to be incorporated into your website.


