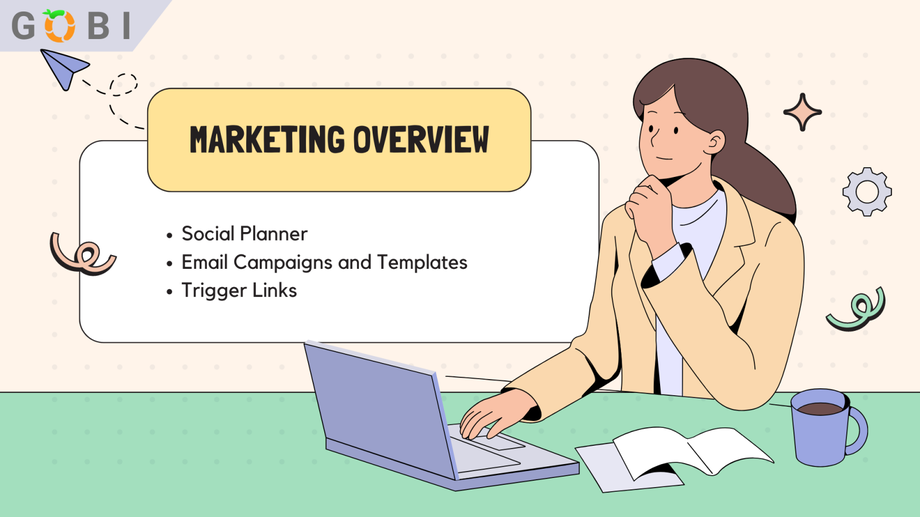
Marketing Navigations is a crucial feature in GOBI that serves as a hub for various marketing tools and services. It plays an integral part in developing and executing effective marketing strategies within the platform.
GOBI Social Planner
Managing social media marketing across multiple platforms can get complicated and expensive with individual subscriptions. That's why GOBI created the integrated Social Planner tool to simplify your workflow.
So, we'll show you how Social Planner eliminates the need for external scheduling apps by allowing you to easily connect accounts, schedule posts, and manage content across all your social platforms in one place - all for free within GOBI.
Connect Your Social Media Accounts
The first step to using the Social Planner in GOBI is connecting your social media accounts. This links your accounts so you can access them within GOBI's interface.
To do this, go to the Social Planner section under Marketing and click the icons for each social platform you want to connect, like Facebook, Twitter, Instagram, etc.
When prompted, log into each of your social accounts so GOBI can sync with them. Repeating this process will connect additional accounts as needed. Connecting your accounts is crucial so you can schedule posts and view analytics directly in Social Planner.
Create and Schedule Posts
Once your social accounts are connected, you can start creating and scheduling content. Begin by clicking "New Post" in the Social Planner sidebar.
Then select which of your connected accounts you want to post to - you can choose multiple accounts if you want to publish across different platforms simultaneously.
In the content area, input details for your post like text, images, videos, hashtags, etc. You're able to preview how the post will look on each platform.
When your post is ready, click "Schedule Post" and pick the exact date and time you want it to be published. Scheduling social media posts ahead of time allows you to plan out your marketing across all your connected platforms strategically.
Additional Features
The Social Planner calendar visually displays your upcoming and already-published content all in one place. You're able to see scheduled posts and make edits or reschedule before posting.
You can also view draft posts, failed posts, and posts that have been successfully published.
And you have access to post templates from Social Planner's template library. If you have a team, you can also schedule posts for approval before final publishing.
Overall, the integrated social media scheduling in GOBI's Social Planner saves you time and money compared to using multiple separate tools.
Creating Email Campaigns and Templates in GOBI
Email campaigns are a crucial part of your business's marketing strategy. So, we'll walk you through the process of setting up and managing an email campaign on GOBI. And the platform made significant changes to the way email campaigns are created and managed.
Previously, email campaigns in GOBI were created under Automation > Campaigns. However, they may deprecate in the future so the new recommended method involves building your email templates under Marketing > Email Templates.
These templates can then be utilized in workflows under Automation > Workflows to trigger the emails automatically. Workflows allow you to smoothly extend email series over time, making it easier to manage and scale your email campaigns effectively.
Set-Up Email Templates
Let’s now proceed with creating the email campaign using templates. From the 'Marketing' tab, go to the 'Templates' section. Click 'Add Email Template' and input the relevant information into the fields for title, subject line, and text.
Depending on the duration of your campaign, you can create any number of templates and label them according to your workflows. Repeat these steps until you have all the templates required for your campaign.
Create a Workflow
Upon the successful creation of email templates, it's time to create a workflow. This can be done from the 'Automation' tab by clicking 'Add Workflow'. The workflow should have a descriptive name to help you easily identify it later.
Define Your Workflow Trigger
Next, you need to define a trigger that will launch your workflow automatically. For this instance, choosing a Contact tag as the trigger is immensely practical. By adding an identifier tag to a contact, the workflow will be triggered for that specific contact.
Add trigger by clicking 'Add Trigger' then add and select a filter like, 'Tag Added’. After, select a tag identifier like 'Client' into the tag field. Finish by clicking 'Add New Tag'.
Going forward, every time you add a tag identifier like a 'Client' tag to a customer, this workflow will be triggered for them.
Build Your Workflow Actions
Workflow actions automate the process of sending out emails. This streamlines the marketing process, saving time and effort that can be redirected toward other important tasks.
Actions also help in keeping customers engaged at regular intervals without overwhelming them with constant communication.
For a demo, your workflow actions may consist of actions like, waiting periods (Wait) and sending emails (Send Email).
To set a 'Wait' action, click on 'Add Action', select 'Wait', and determine the waiting duration. This is followed by a 'Send Email' action, where you select 'From Name' and 'From Email' and choose the template to be sent.
You can complete this process by clicking 'Save Action'. Be sure to repeat this for the entire duration of your chosen campaign, tailoring the template to each 'Send Email' action.
That's it! Once you've set up your entire workflow, remember to save it.
By following these steps, you've set up an email engagement campaign for your customers. Remember, this workflow can be extended or modified as much as you want.
Just bear in mind that changes will only apply to those who are still in the workflow and haven't yet completed it. For best results, consider employing a professional copywriter to construct your emails.


